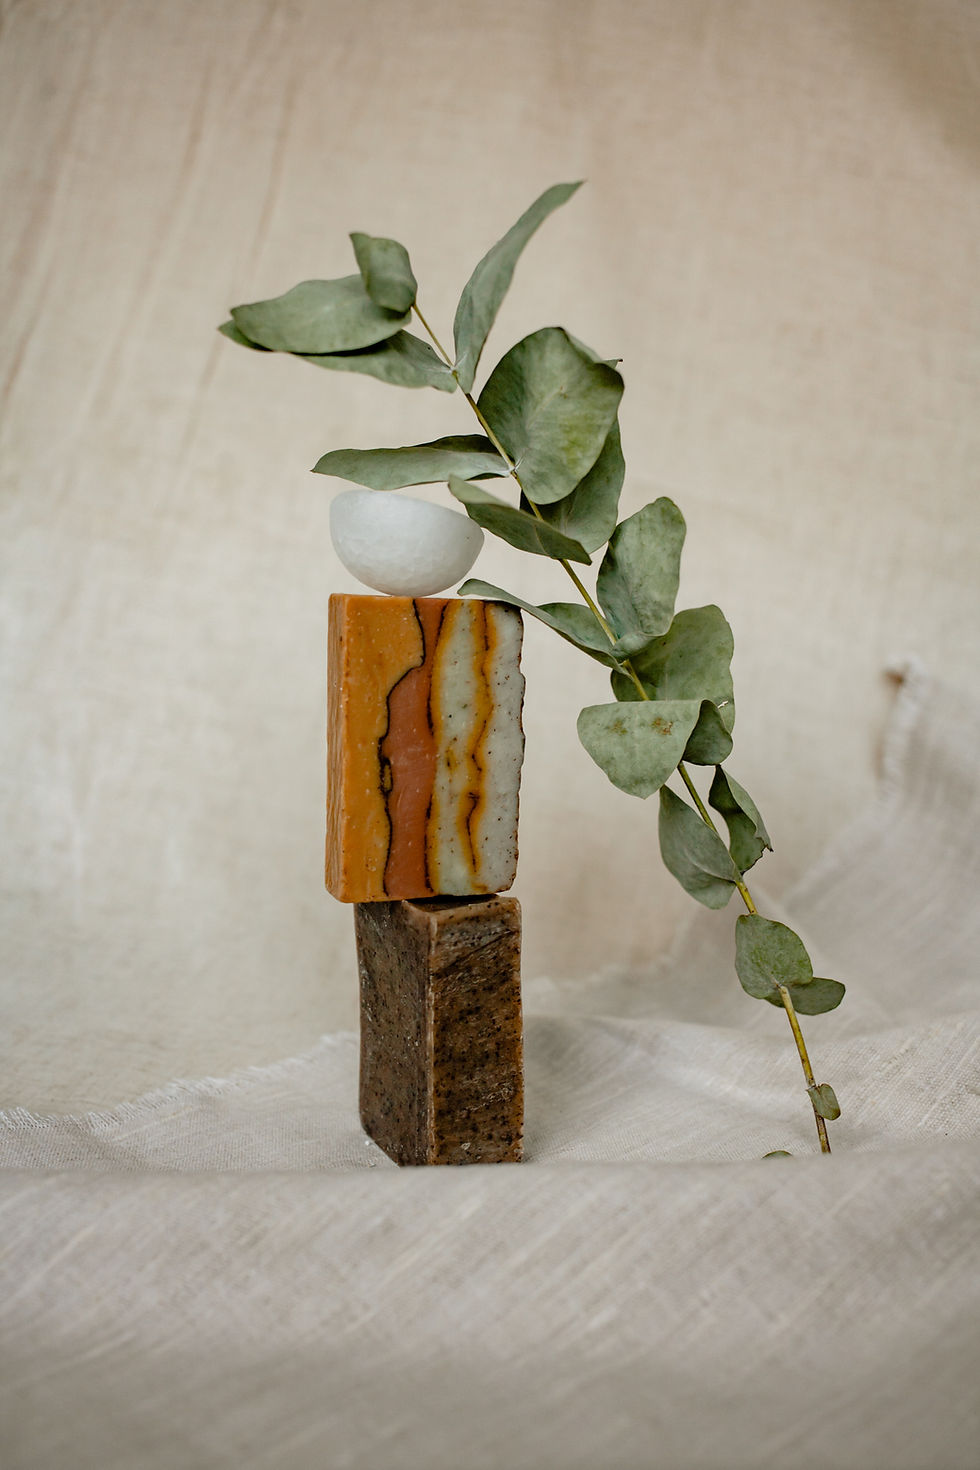
How to Hand Make Your Own Soap?
- Shakila Halini
- Nov 14, 2022
- 5 min read

Making Soap is not just by melting and adding different ingredient. Making soap is like making art.With just some tools (many of which are old friends in the kitchen), and armed with an understanding of how it all comes together, homemade soap really doesn't feel that much more ambitious than some of the more adventurous baking projects I've embarked on over the years, like baking bread—and the results are well worth it. Much like freshly baked goodies, they can also fill your home with delicious scents. Once you have a base recipe down, you can also play with shapes, colors, scents, and additives to customize each batch, and make them your own.
With just some tools (many of which are old friends in the kitchen), and armed with an understanding of how it all comes together, homemade soap really doesn't feel that much more ambitious than some of the more adventurous baking projects I've embarked on over the years, like baking bread—and the results are well worth it. Much like freshly baked goodies, they can also fill your home with delicious scents. Once you have a base recipe down, you can also play with shapes, colours, scents, and additives to customize each batch, and make them your own.
1. Mix the lye. Put on your rubber gloves and safety goggles, and set up in a very well-ventilated area such as next to an open window. If you have access to a garage, driveway, patio, or balcony, head out there. Use your scale and measuring cup to carefully weigh 201 grams of sodium hydroxide and set it aside. Then, weigh 19 ounces of distilled water into your glass pitcher or other sturdy, heat-safe vessel. Now, carefully pour the sodium hydroxide into the pitcher of water, and stir just long enough to make sure it all dissolves. This creates a chemical reaction that heats the water to over 200° F and produces strong fumes at first, so work quickly and be extra careful here—I try to hold my breath while I stir. (Safety note: Always work in this order and add lye to water. Never add water to lye, which can cause spattering of the hot lye solution or even an explosion.)
The lye now needs to cool to below 100° F. I usually place mine outside on my porch to speed up this process. Depending on how cold it is out, it can take between 30 and 90 minutes for the lye to cool, which is why I recommend getting this step out of the way first.
2. Prepare the mold and measure out fragrance. If you're using a wooden loaf mold or a baking pan, carefully line the inside with waxed paper or parchment paper so its easier to get the soap out later. I often use some masking tape to help hold everything in place. If you use a silicone mold, you can skip this step.
If you like the simplicity of plain rectangular soap bars and think you’ll make more than a couple batches of soap, having a wooden loaf mold like the one shown here makes the process easy and consistent. (I’ve found eBay and Etsy to be good sources for wooden versions at lower prices.) Other options include silicone and PVC plastic molds, which come in many shapes and patterns. If you’re not ready to invest yet, a 9 by 12-inch baking pan or Pyrex dish that you're willing to part with isjust fine.
Now is also a good time to measure out your essential oils into an extra measuring cup, for ease of adding them later. Blending fragrances is probably one of the most fun parts of making soap. For this batch, I used 5 teaspoons of orange essential oil and 2 of sandalwood. Synthetic fragrance oils also work well and are generally less expensive than pure essential oils. Mixing fragrances is akin to mixing spices and other ingredients when experimenting with cooking a dish—here is a great set of tips for having fun with blending fragrance oils. You can also opt to make unscented soap if you're very sensitive to scents and perfumes.
3. Melt and mix the oils. You can now prepare the blend of oils to which you’ll add the lye. If you're using oils that are solid at room temperature, such as the coconut and palm oils in this recipe, you’ll first need to melt them so they can be poured, either by placing the container in a saucepan of simmering water or by melting them in the microwave.
Once your oils are in a liquid state, place your large pot on the scale and weigh (or re-weigh, if you've already done so) each oil into it for precision. Stir everything together and then check the temperature with a heat-safe thermometer. For the next step, the oils need to be between 80 and 100° F. I often find that mine are already in the correct range from being melted, but if not, place the pot on the stove over low heat until the oils reach the proper temperature or set aside to cool down.
4. Blend and pour your soap. When both your lye and your oil mixture are between 80 and 100° F, you’re ready to blend. After removing the pot from the heat to a trivet or heat-safe surface, put your gloves and eye protection back on, and carefully pour the lye into the pot of oil. They’ll begin to react with each other, turning the mixture cloudy. Begin blending with your immersion blender, and over the next 3 to 5 minutes you’ll see the mixture become thicker and more opaque. You're aiming for a mixture with the consistency of a runny pudding. If you lift the blender out and let some drips fall across the surface of the mixture, you should see them leave a visible pattern, called “trace,” before sinking back in.
Once the soap mixture has reached trace, stir in the fragrance oil, if using, until blended. Carefully pour the finished mixture into your lined soap mold, and cover with the lid (or plastic wrap, if your mold has no lid). Being sure to keep it level, wrap the whole thing in a towel or blanket to insulate it, and leave undisturbed in a well-ventilated area that's out of the way for kids and pets for 24 hours.
This method that I use for making soap is called cold process, where no additional heat is used to facilitate or speed up the saponification process. Hot process, on the other hand, uses an external heat source to accelerate it. While cold process soaps take longer to cure (the next stage, below), the choice to use one or the other is entirely personal.
5. Cut and cure your soap. When your clock indicates that 24 hours is done (don't try and rush it), your soap is ready to be removed; many wooden loaf molds have fold-down sides or removable bottoms to make this process easier. If you’ve used a baking pan, you may need to use a knife to help pry the soap loaf out. Cut the loaf into bars with a sharp knife.
Naturally, you don't want your soaps to crumble when you cut them—and soapmakers have all sorts of ideas on which tools to use to cut soap with. Some use guitar strings, others use butcher's knives. Still others opt for specialty tools like this (and this). Some DIY-ers even fashion their own instruments. I use a ruler and score the top of the loaf with a sharp knife before cutting to make sure everything stays straight and even. I like generous bars, so I cut them about an inch thick.
Congratulations, you’re a soapmaker! Now get creative and have fun—but please be safe.

Comments